So führen Sie den Test durch
Lipidpanel | Konsung
*Textanweisungen werden unten bereitgestellt.
Video tutorial for the Lipid Panel by Konsug
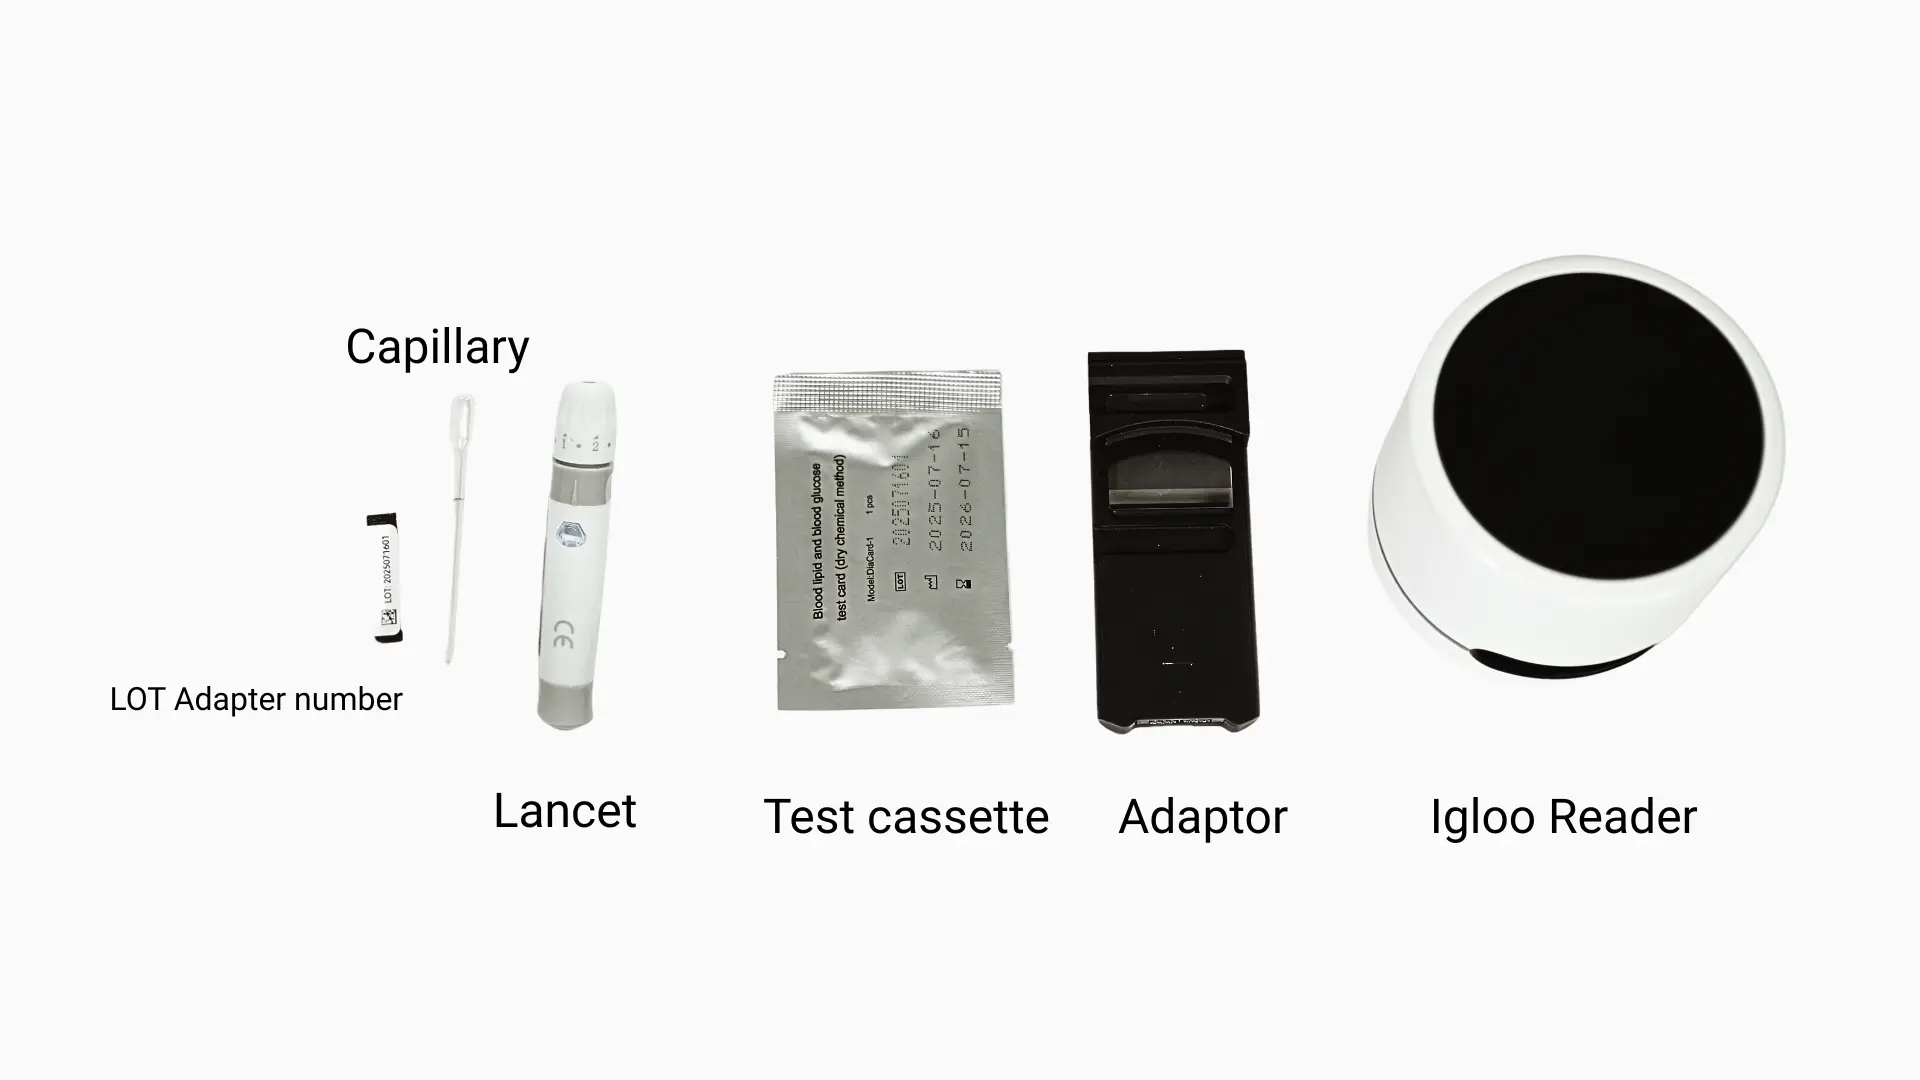
Supplies overview
- 1x Lipidpanel-Testkassette
- 1x Kapillarpipette mit festem Volumen
- 1x Sterile Lanzette
- 1x LOT-Adapternummer
- 1x Igloo Reader
- 1x Konsung-Adapter
- Desinfection wipe
Included in test box:
- 1x Lipid panelTest Cassette
- 1x Kapillarpipette mit festem Volumen
- LOT Adapter number
Additionally needed to perform test:
- 1x Sterile Lanzette
- 1x Desinfection wipe
- 1x Igloo Reader
- 1x Adapter
Text instructions
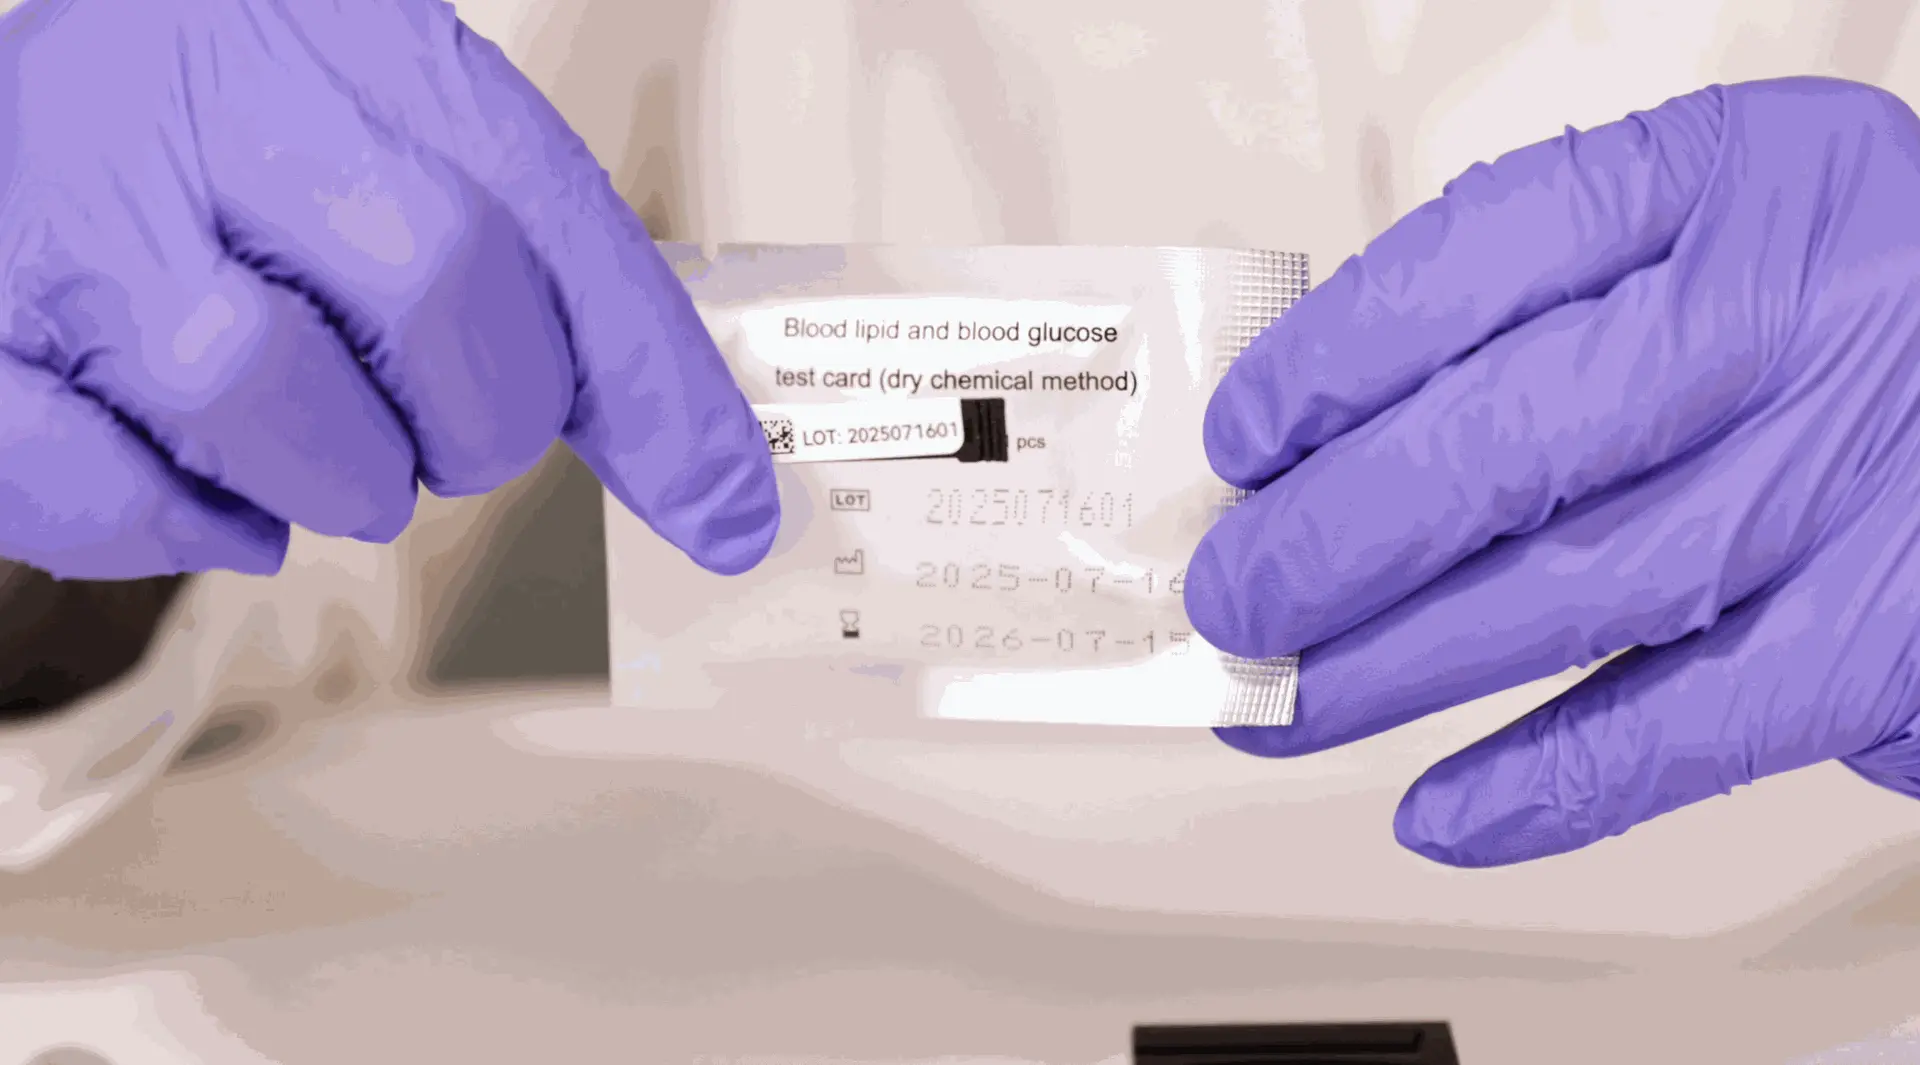
SCHRITT 1: LOT-Code abgleichen
Überprüfen Sie die LOT-Nummer auf der Verpackung und der Kassette – sie müssen übereinstimmen.
Öffnen Sie den Folienbeutel, entnehmen Sie die Testkassette und setzen Sie sie mit dem Pfeil nach vorne in den Adapter ein.
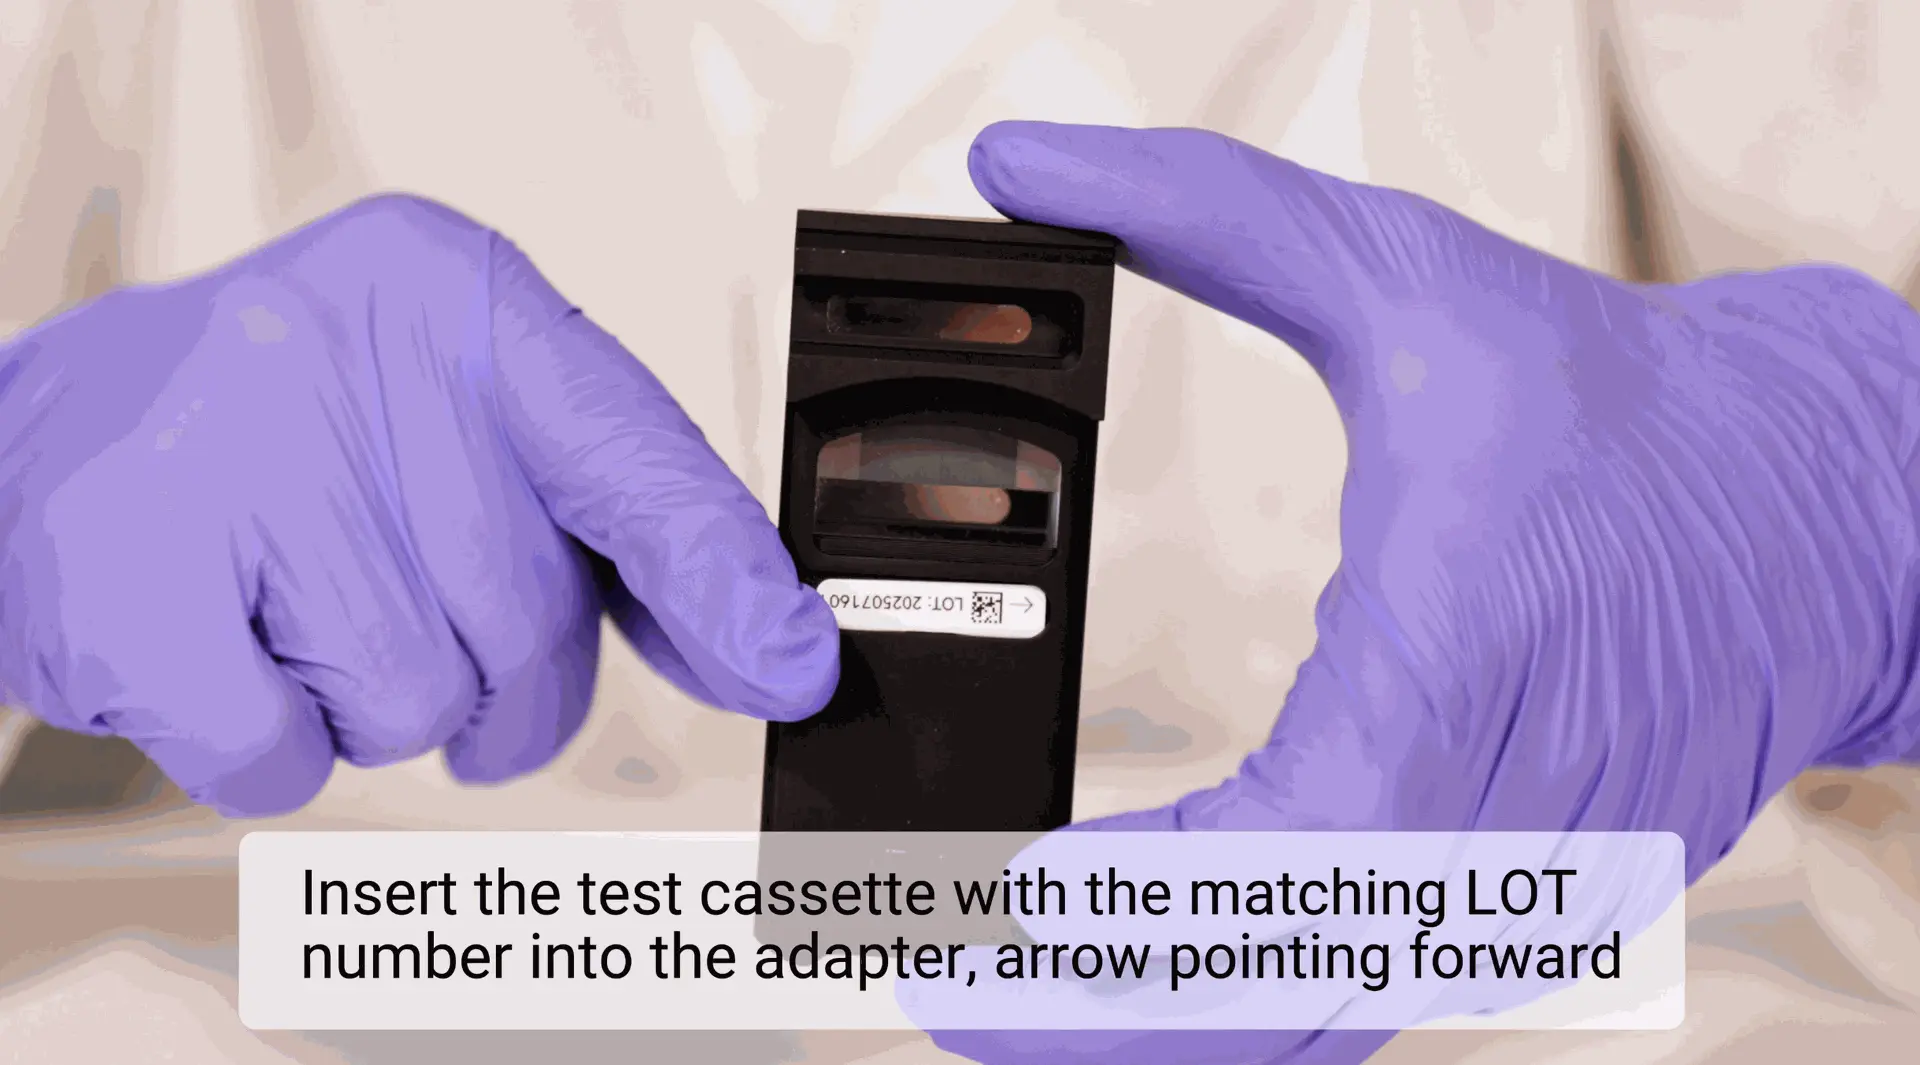
SCHRITT 2: LOT-Nummer in den Adapter einfügen
Setzen Sie den LOT-Nummeradapter mit der Kassette in den Konsung-Adapter, Pfeil zeigt nach vorne.
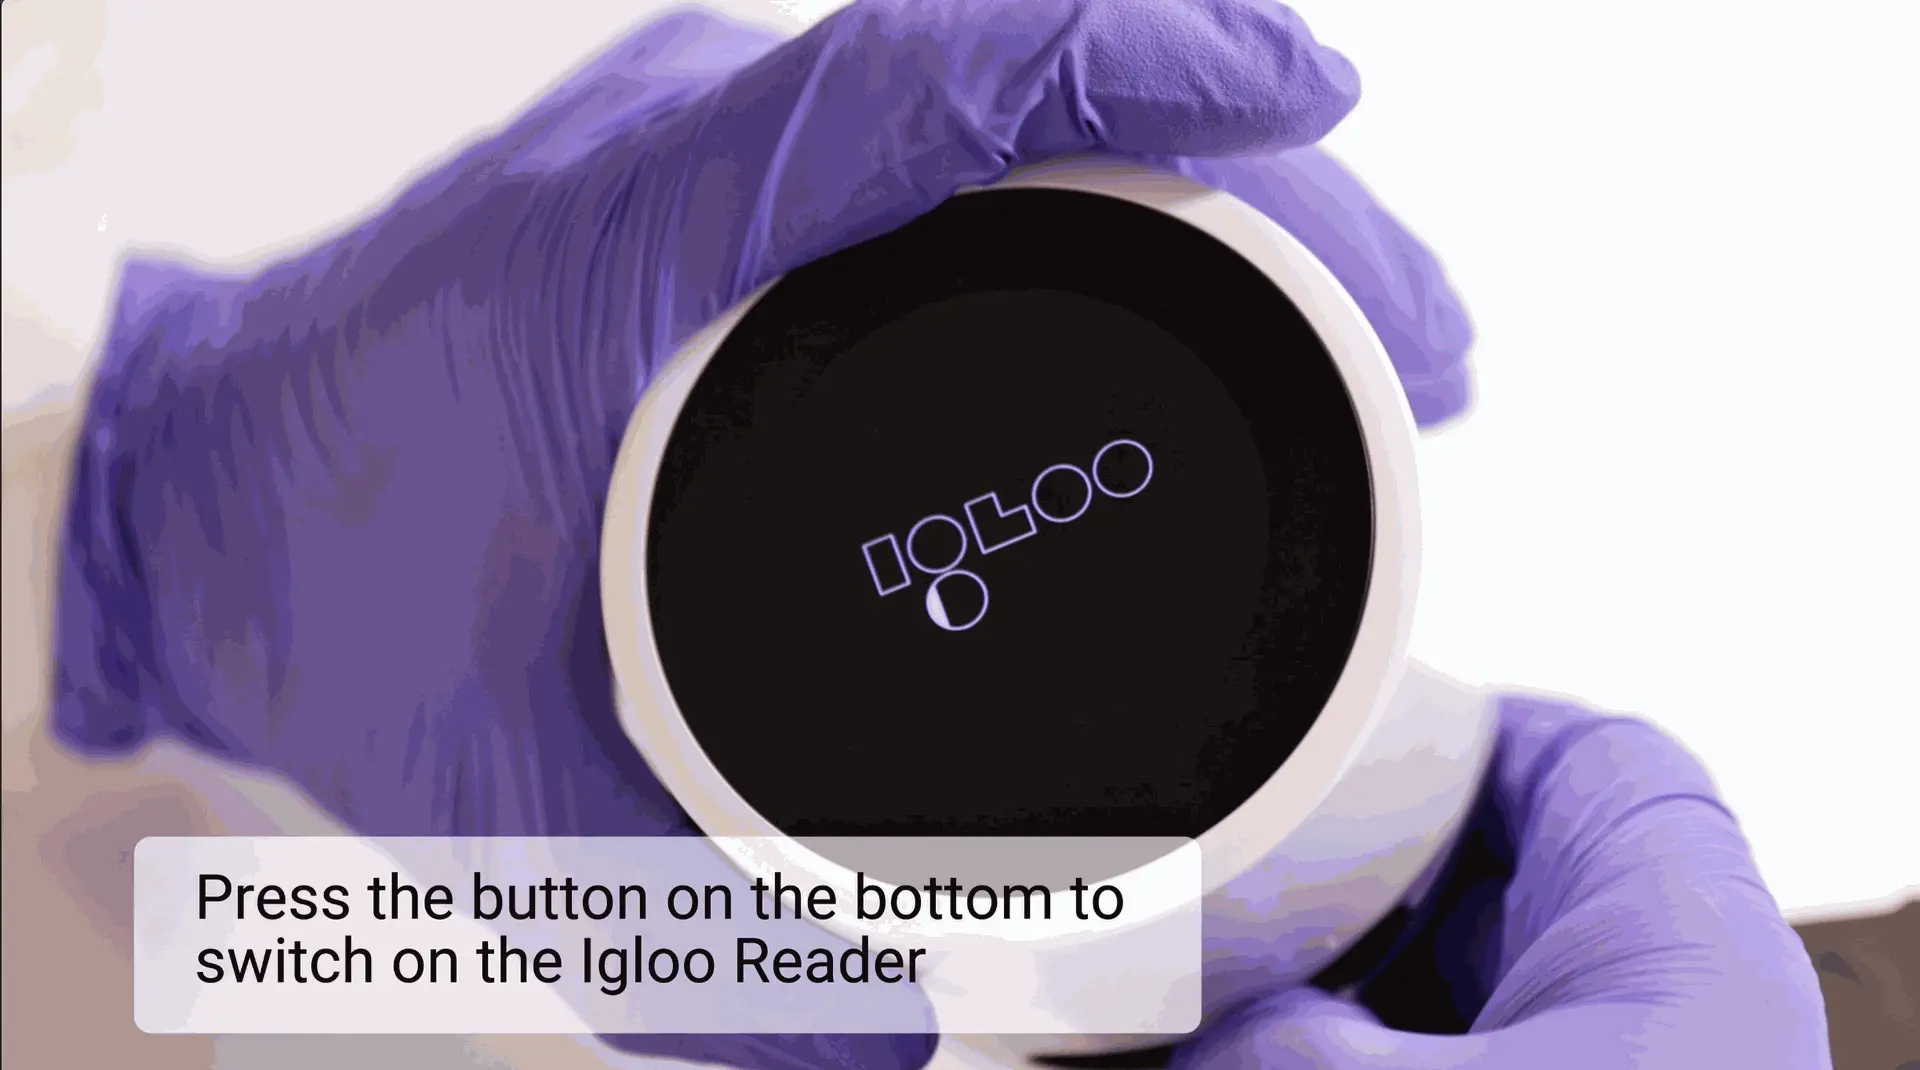
SCHRITT 3: Igloo Reader einschalten
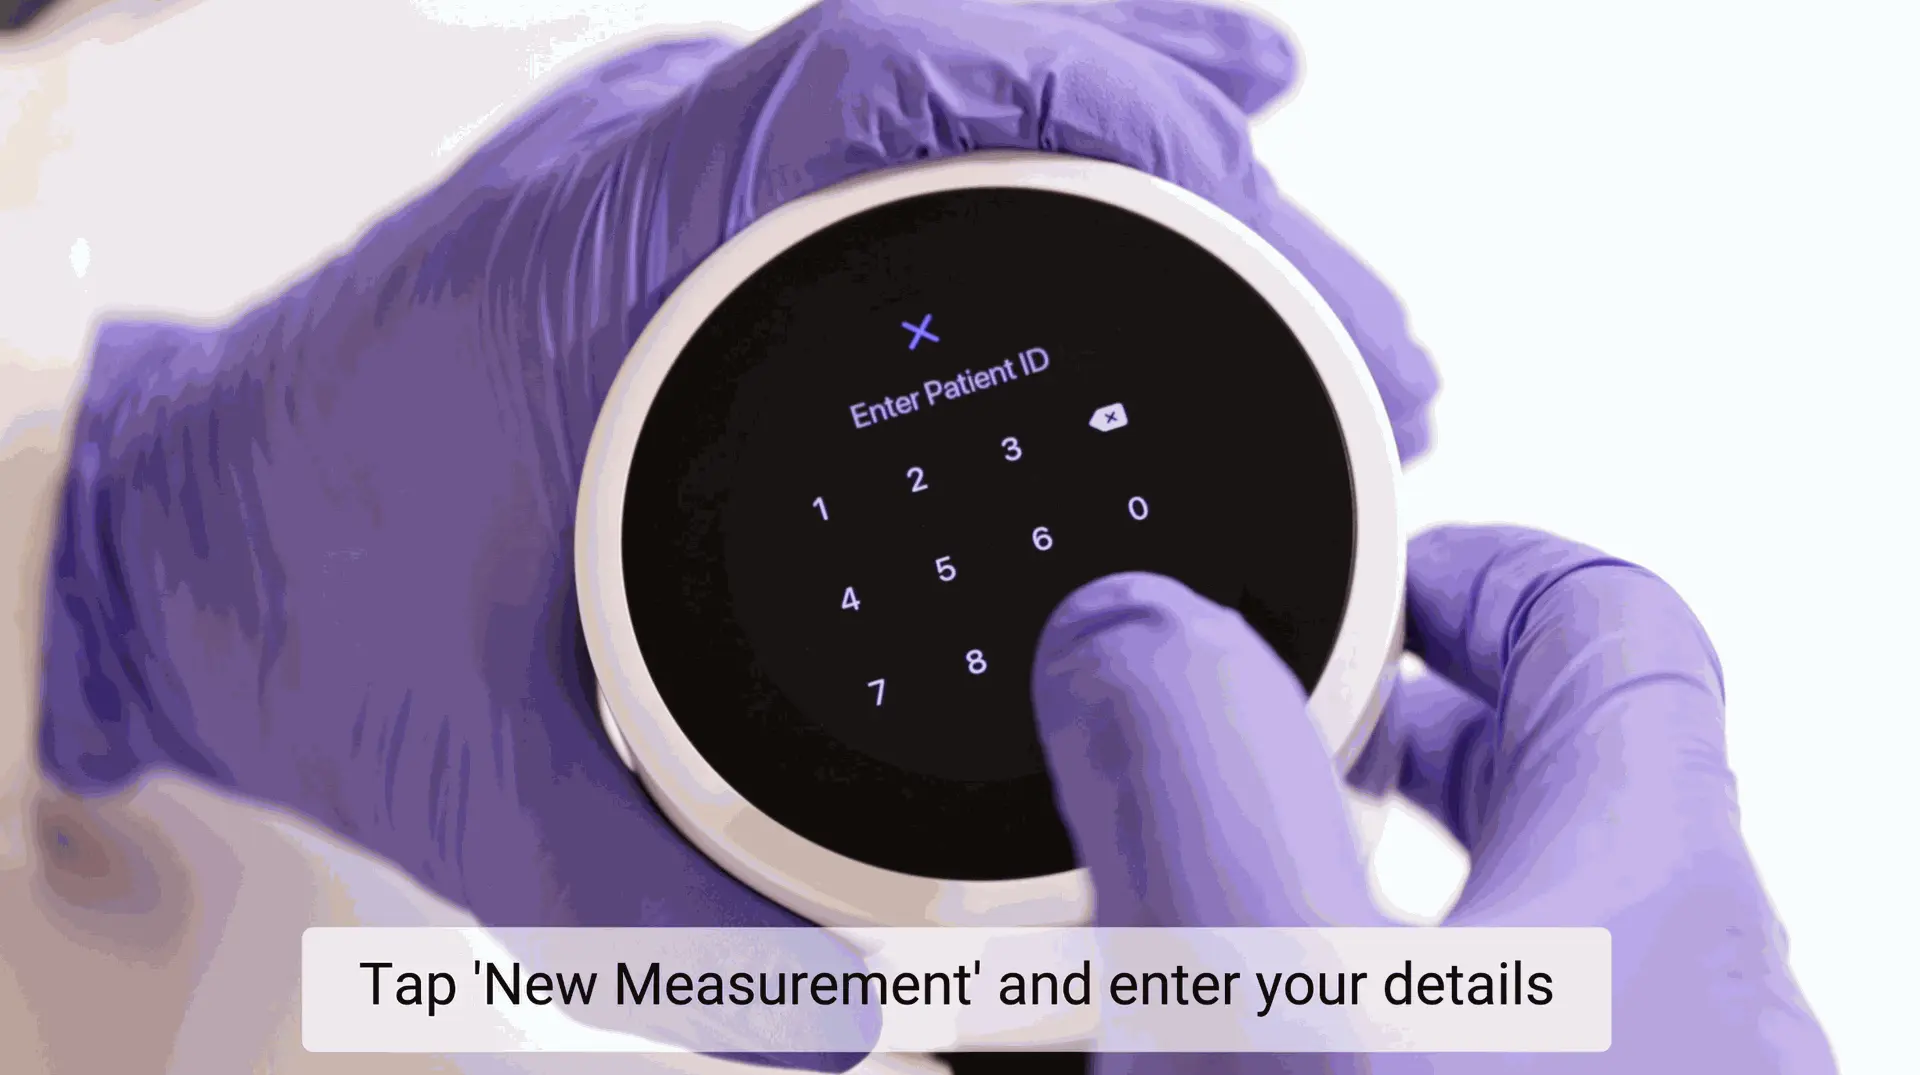
SCHRITT 4: Geben Sie die Patientendaten ein
Drücken Sie „Neue Messung“ und geben Sie die erforderlichen Daten ein, um den Test zu starten.
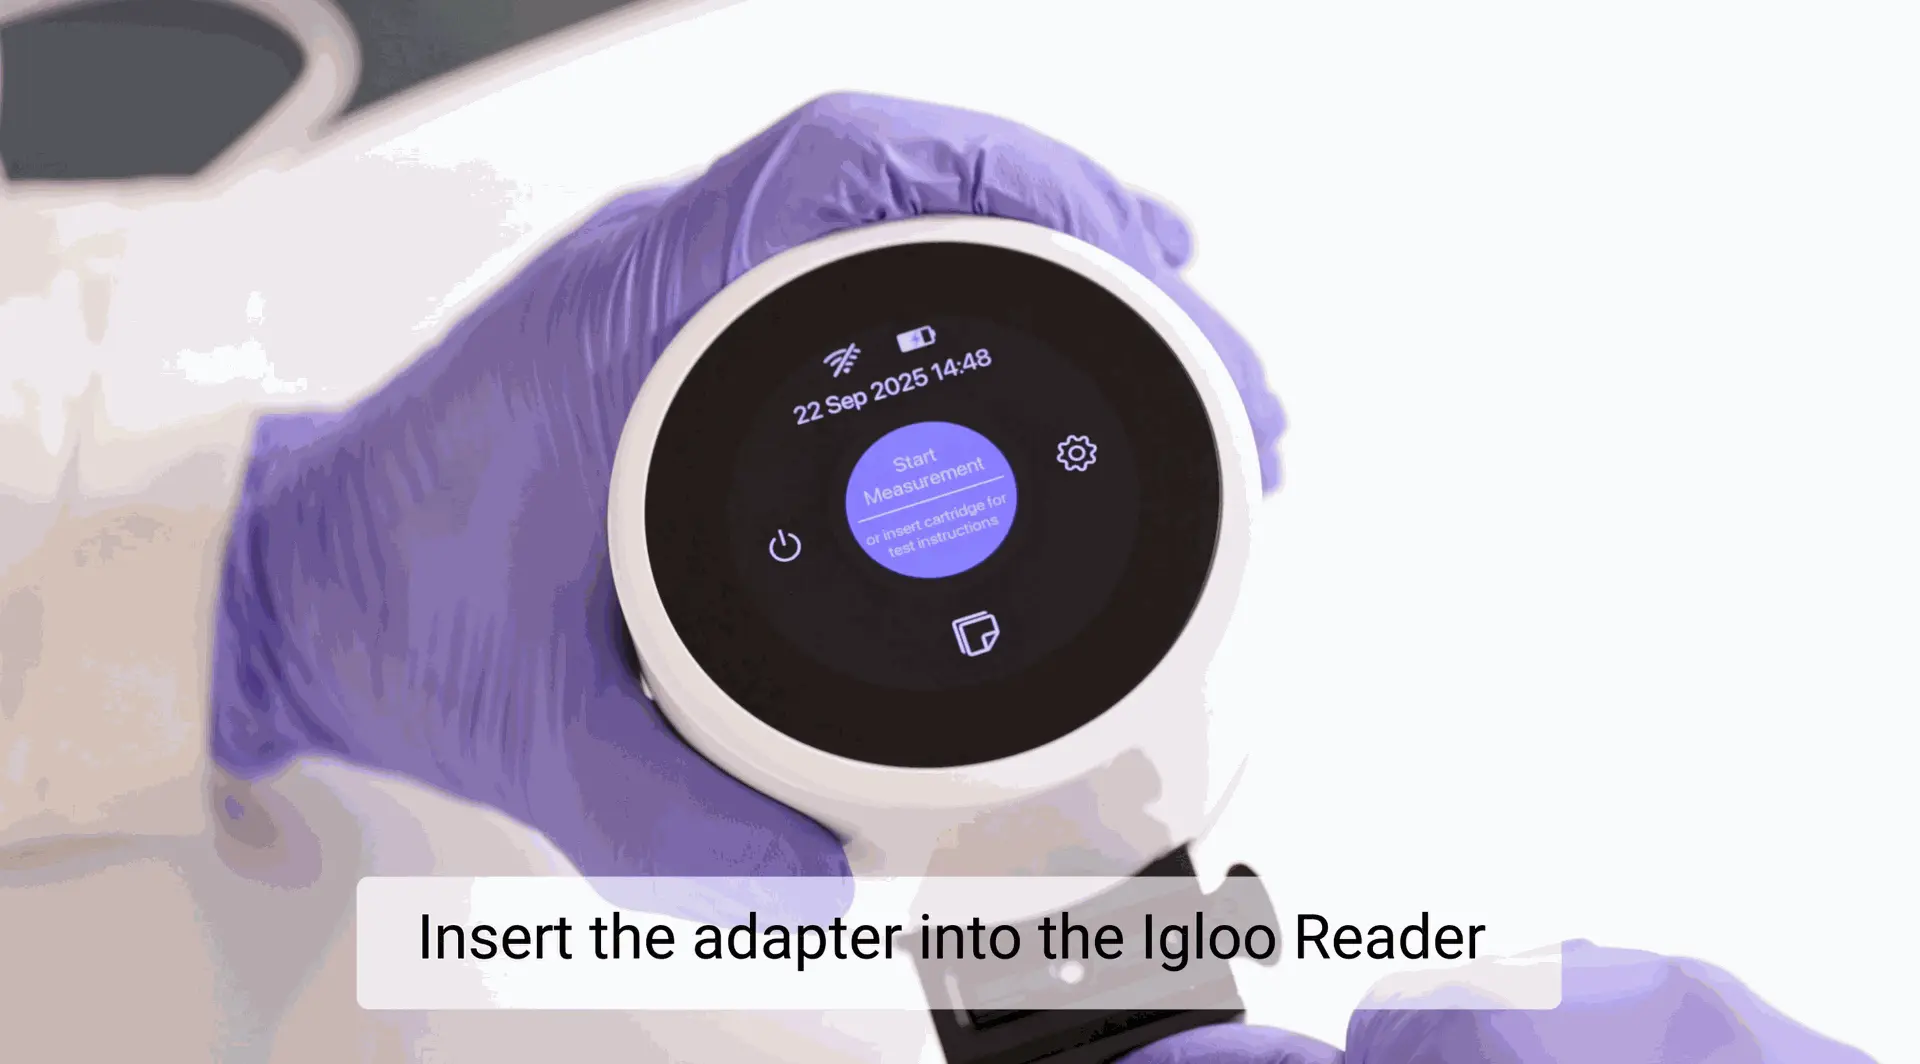
SCHRITT 5: Den Adapter einschieben
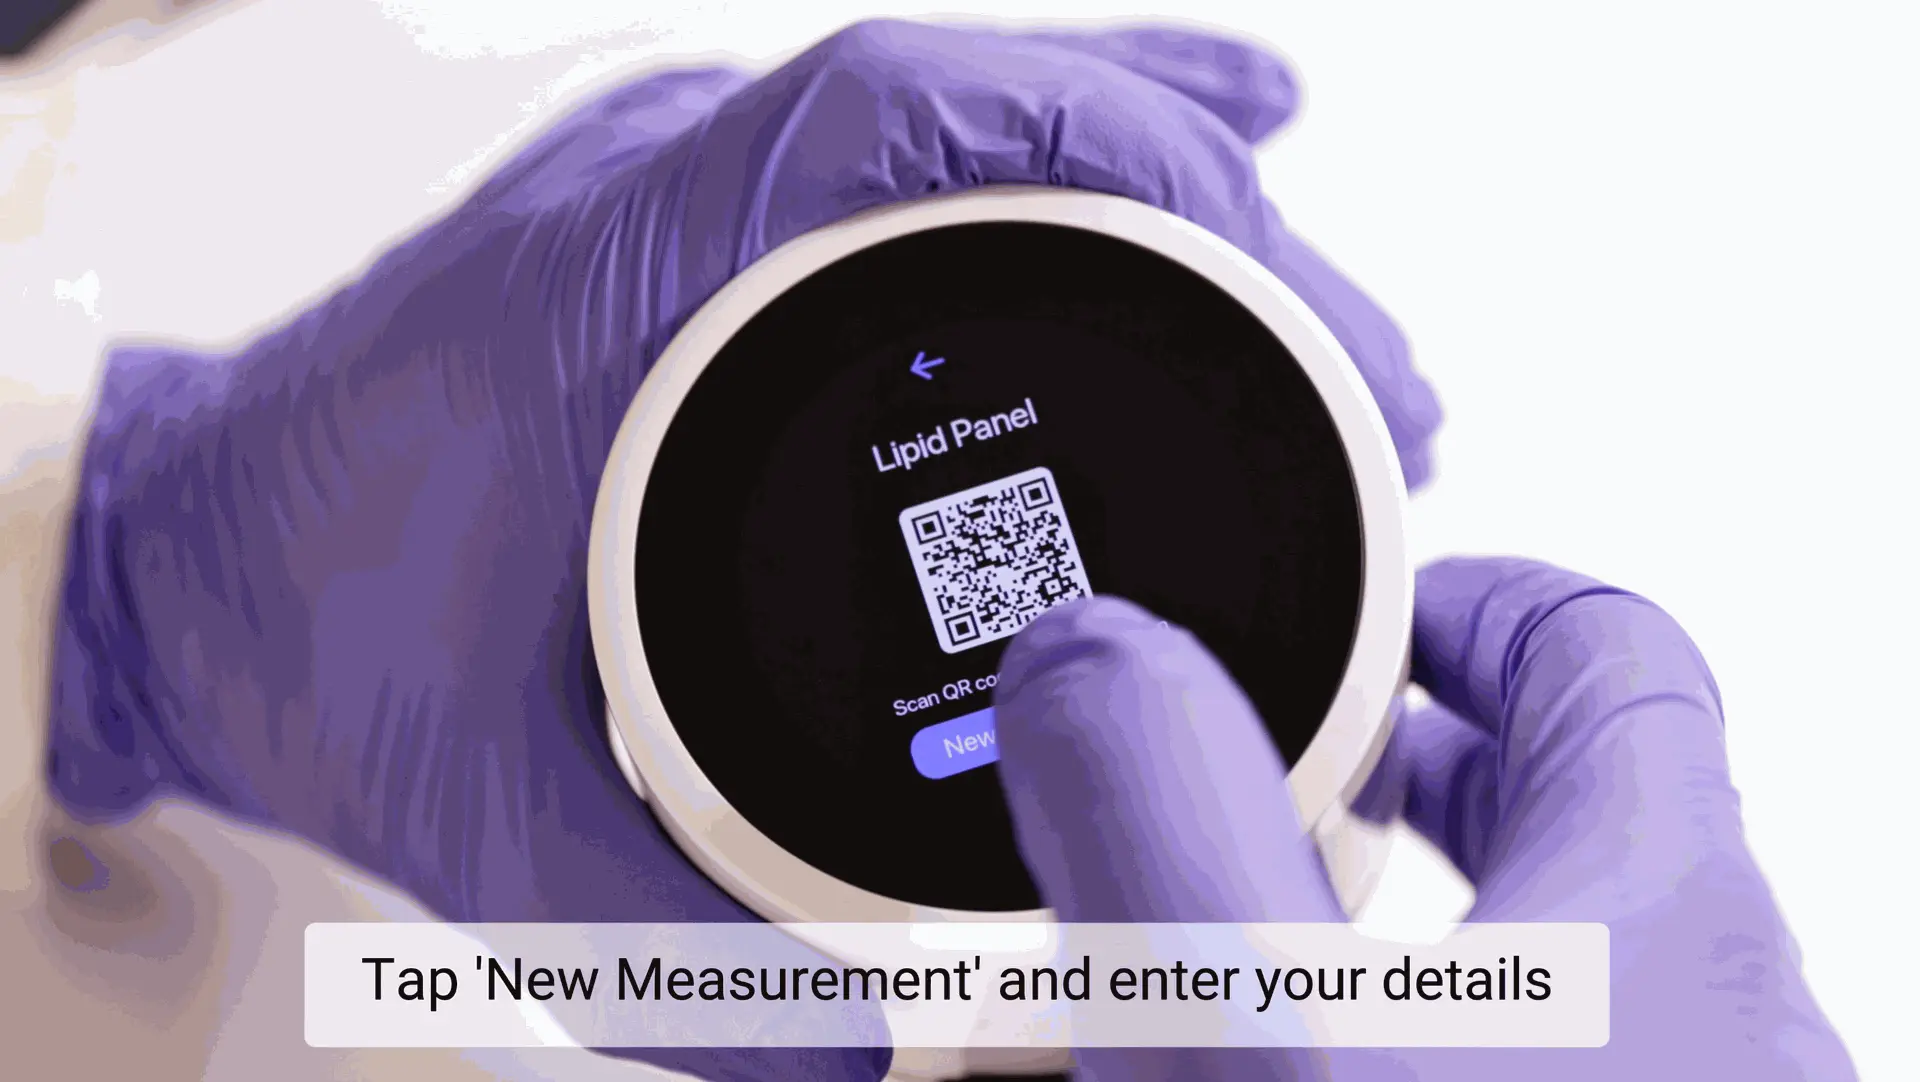
SCHRITT 6: Messung starten
Sobald der QR-Code auf dem Bildschirm erscheint, drücken Sie „Neue Messung“ erneut, um den Test zu beginnen.
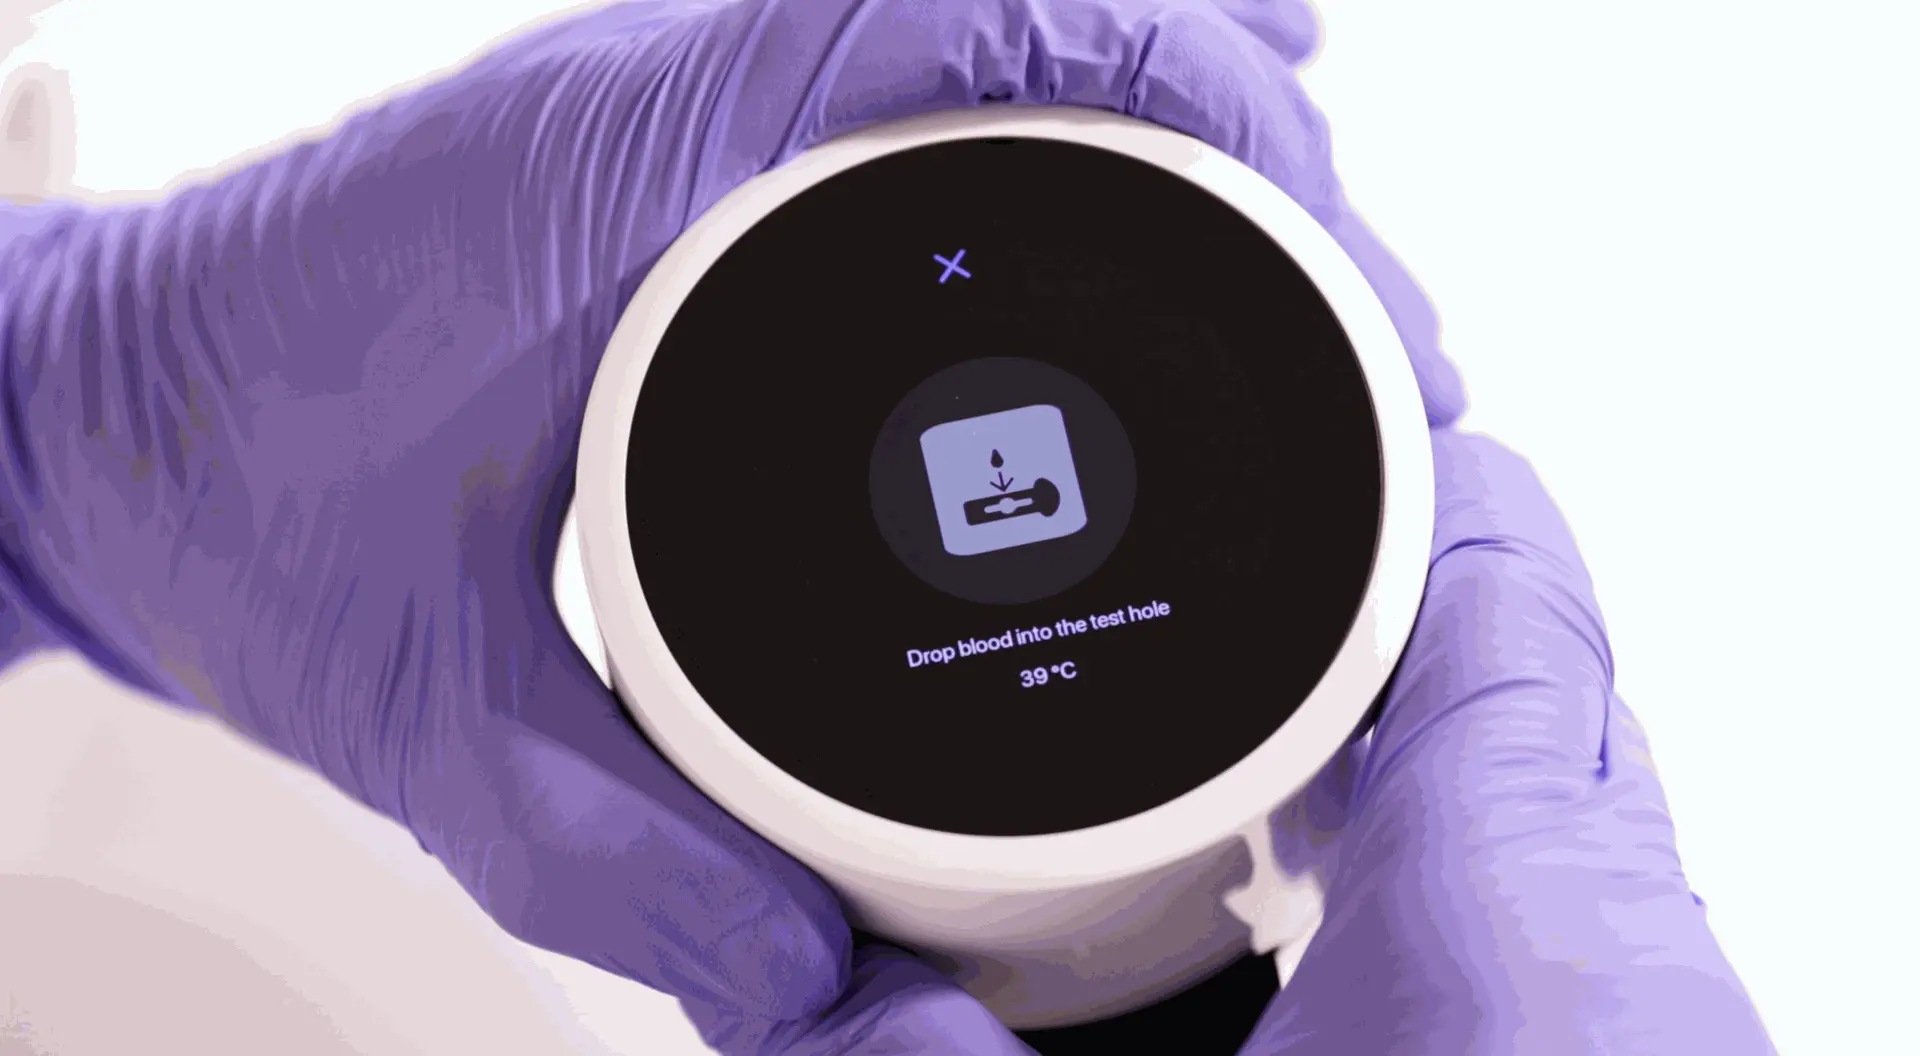
Schritt 7: Gerät bereit zur Messung
Ihr Gerät ist bereit und startet den Test automatisch, sobald die Blutprobe hinzugefügt wird.
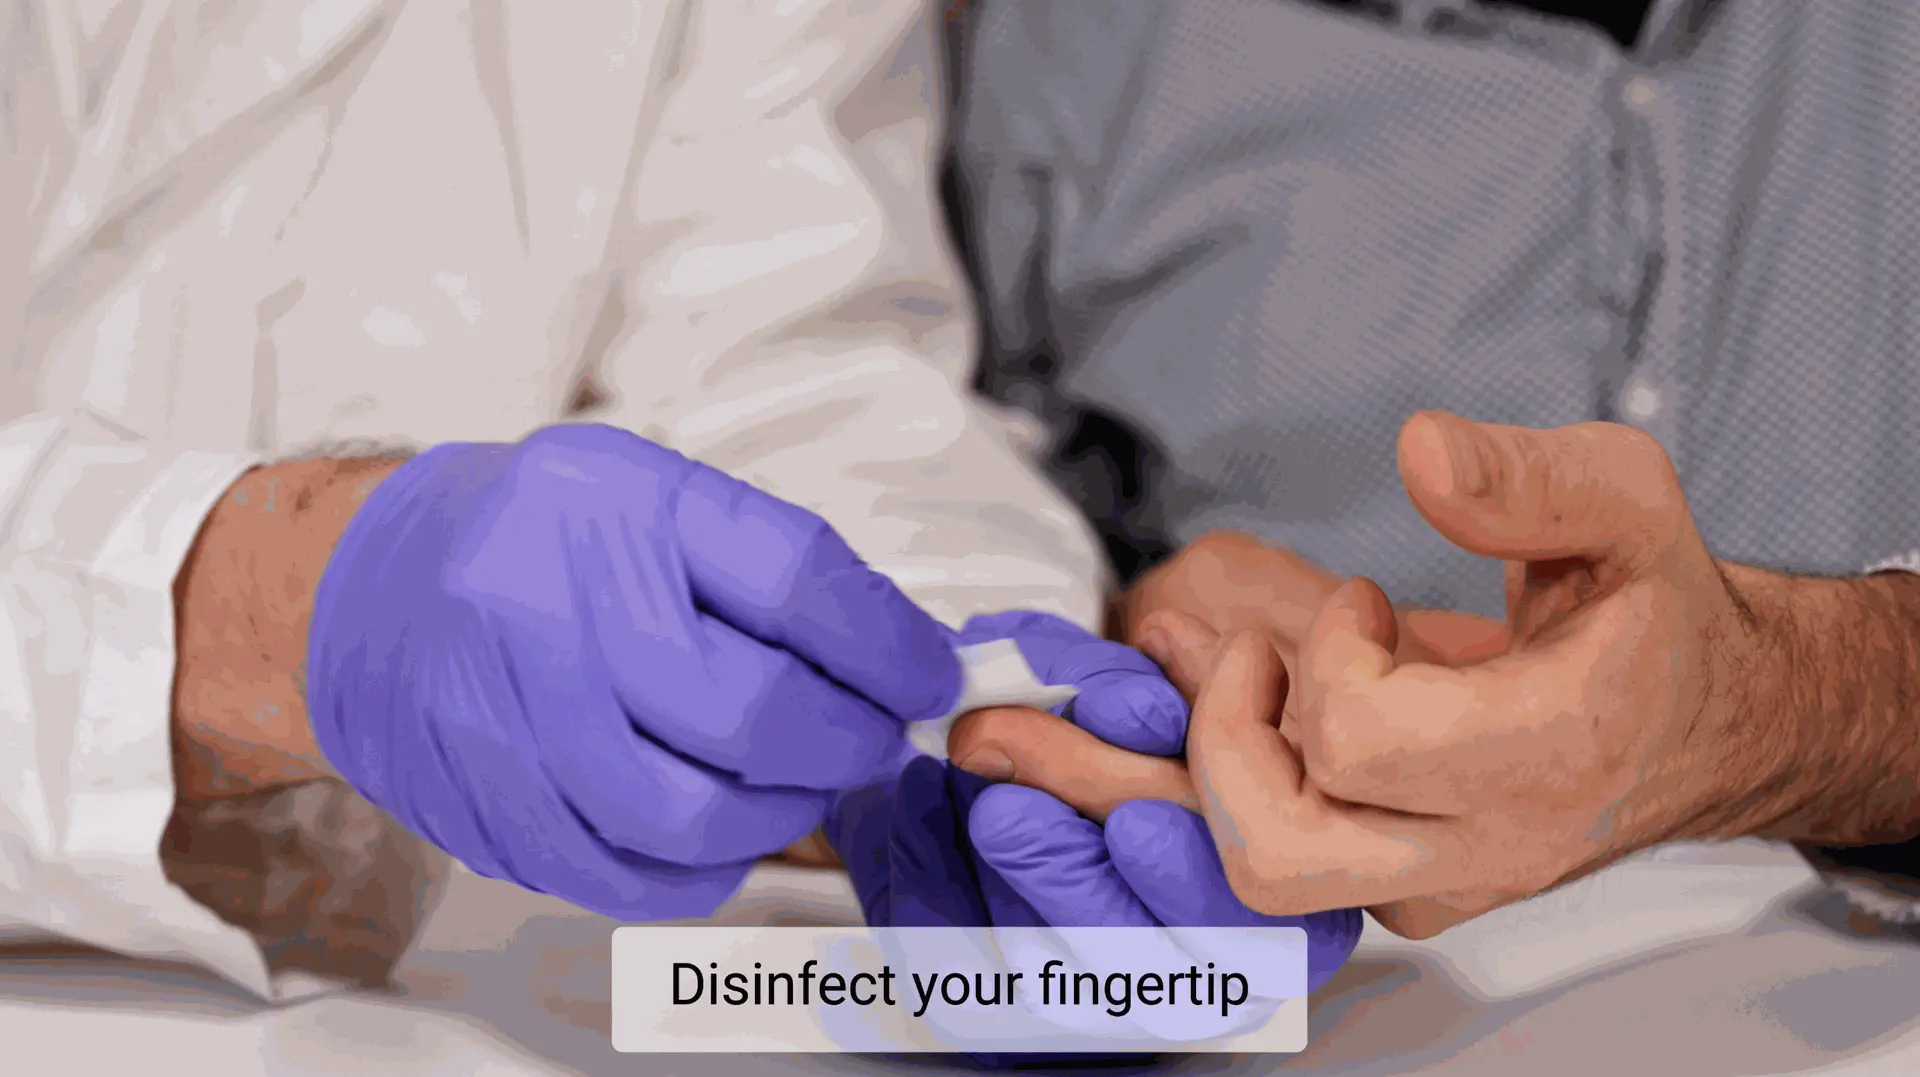
Schritt 8: Testbereich vorbereiten und desinfizieren
Legen Sie alle Kit-Komponenten aus. Desinfizieren Sie die Fingerspitze mit dem Alkoholtupfer und lassen Sie sie diese komplett trocknen.
Wärmen Sie Ihren Finger vor der Probenentnahme auf. Um den Blutfluss zu verbessern und die Entnahme zu erleichtern, wärmen Sie Ihre Hand einige Minuten sanft. Sie können ein warmes Tuch verwenden, in warmem Wasser einweichen oder Ihre Hände aneinander reiben.
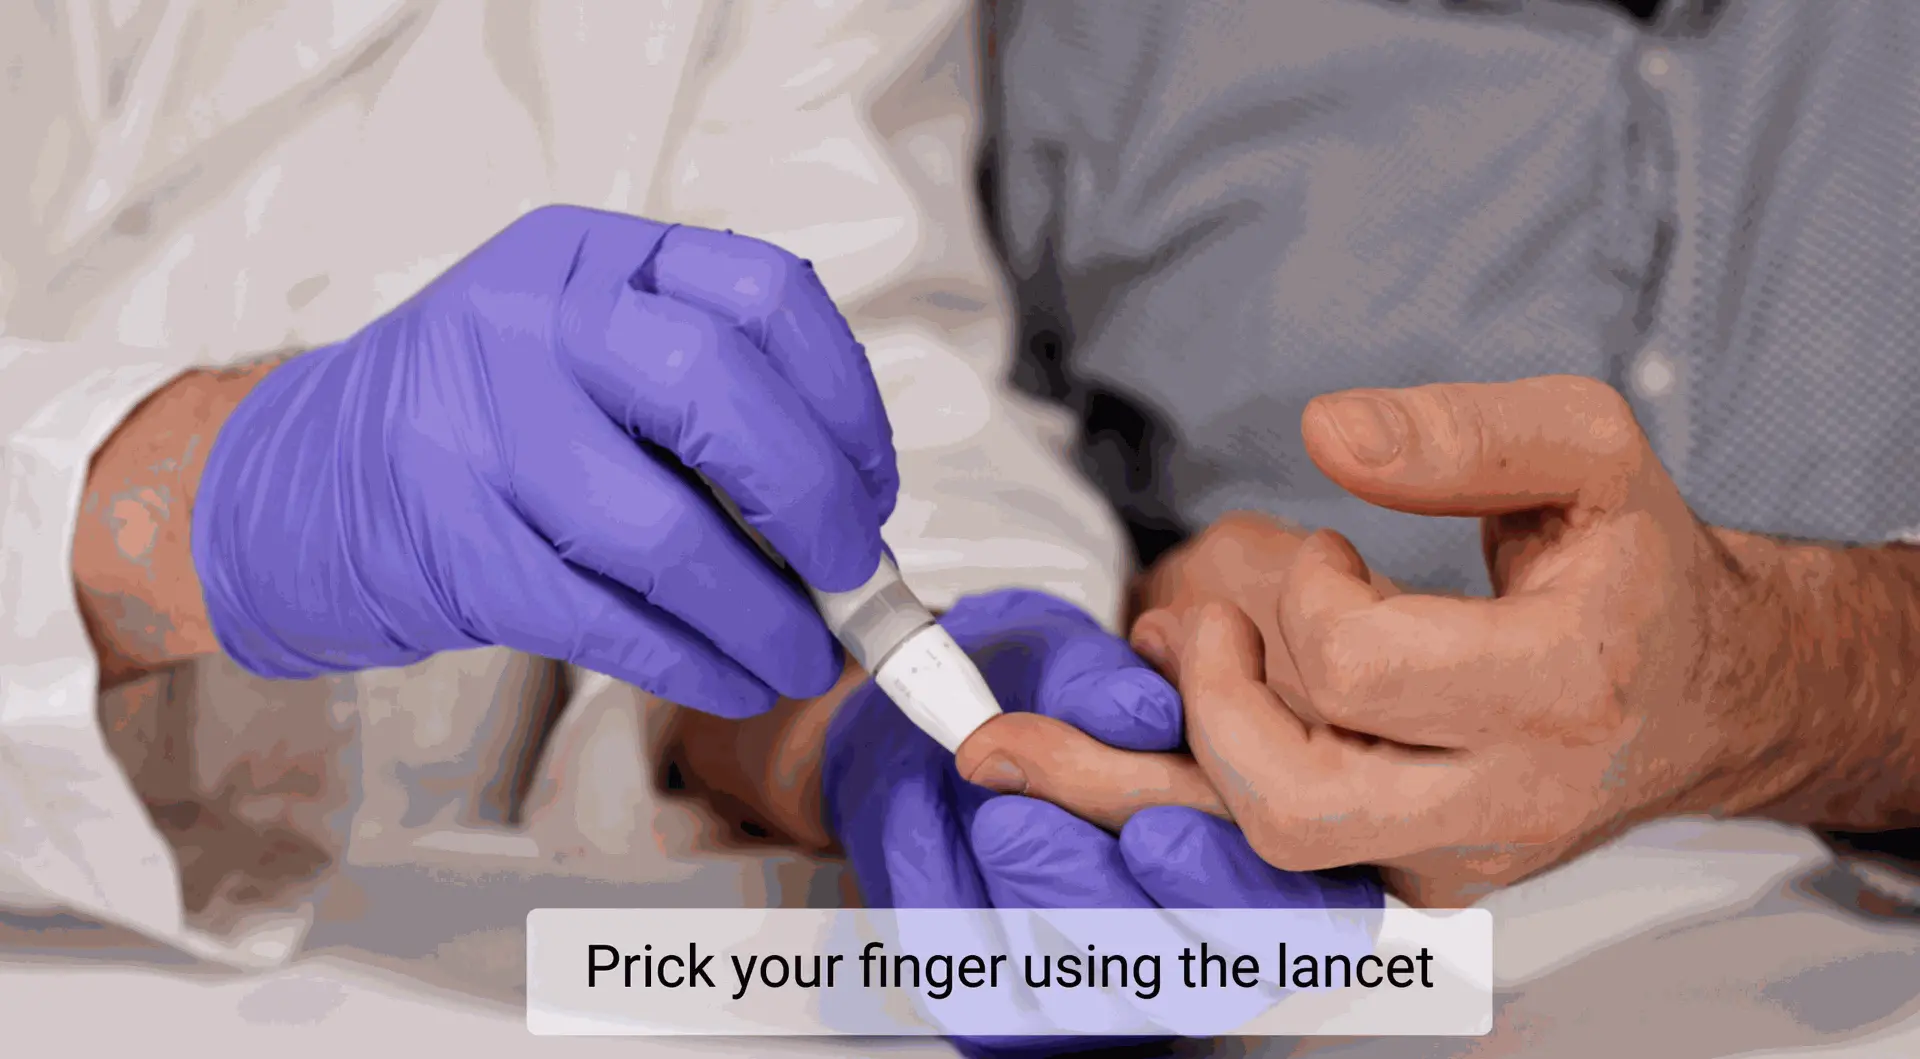
SCHRITT 9: Punktieren Sie die Fingerbeere
Verwenden Sie die sterile Lanzette, um die Seite der Fingerkuppe (Ring- oder Mittelfinger) zu punktieren. Massieren Sie den Finger sanft, um einen Blutstropfen zu bilden.
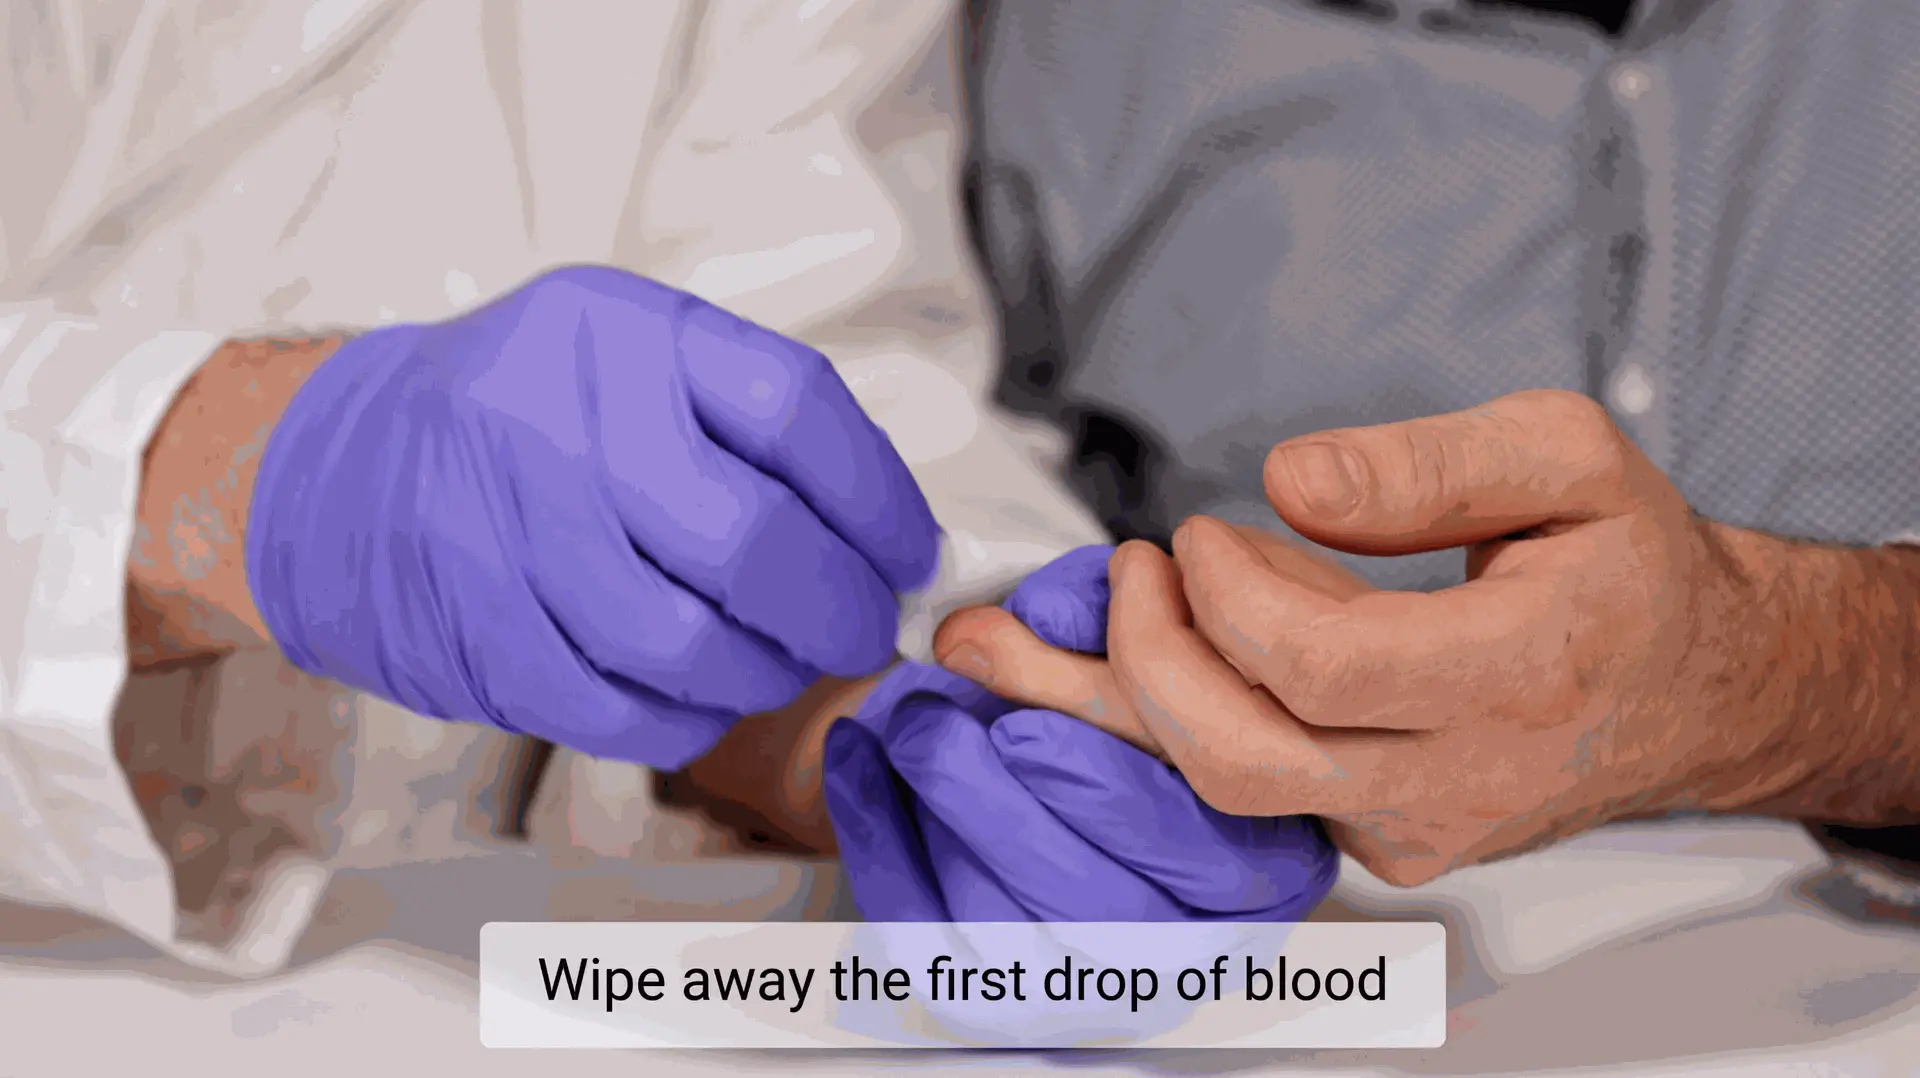
SCHRITT 10: Entfernen Sie den ersten Blutstropfen
Wischen Sie den ersten Blutstropfen mit einem sterilen Tupfer ab, bevor Sie die Probe entnehmen. Dies gewährleistet Genauigkeit und verhindert Kontamination.

SCHRITT 11: Entnehmen Sie genau 45 µL Blut
Ziehen Sie keine Luftblasen ein. Die Pipette füllt sich automatisch – entnehmen Sie das Blut bis zur markierten Linie.
Stellen Sie sicher, dass Sie genau 45 µL Blut entnommen haben.
Wichtig: Während der Probenentnahme muss die Kapillare horizontal, parallel zum Boden gehalten werden. Dies gewährleistet eine genaue Volumenbefüllung, verhindert Luftblasen und gewährleistet die analytische Genauigkeit. Durch Neigen der Kapillare kann das Blut zurück- oder vorwärts fließen, was zu Lufteinschlüssen oder Probenverlust führen kann..
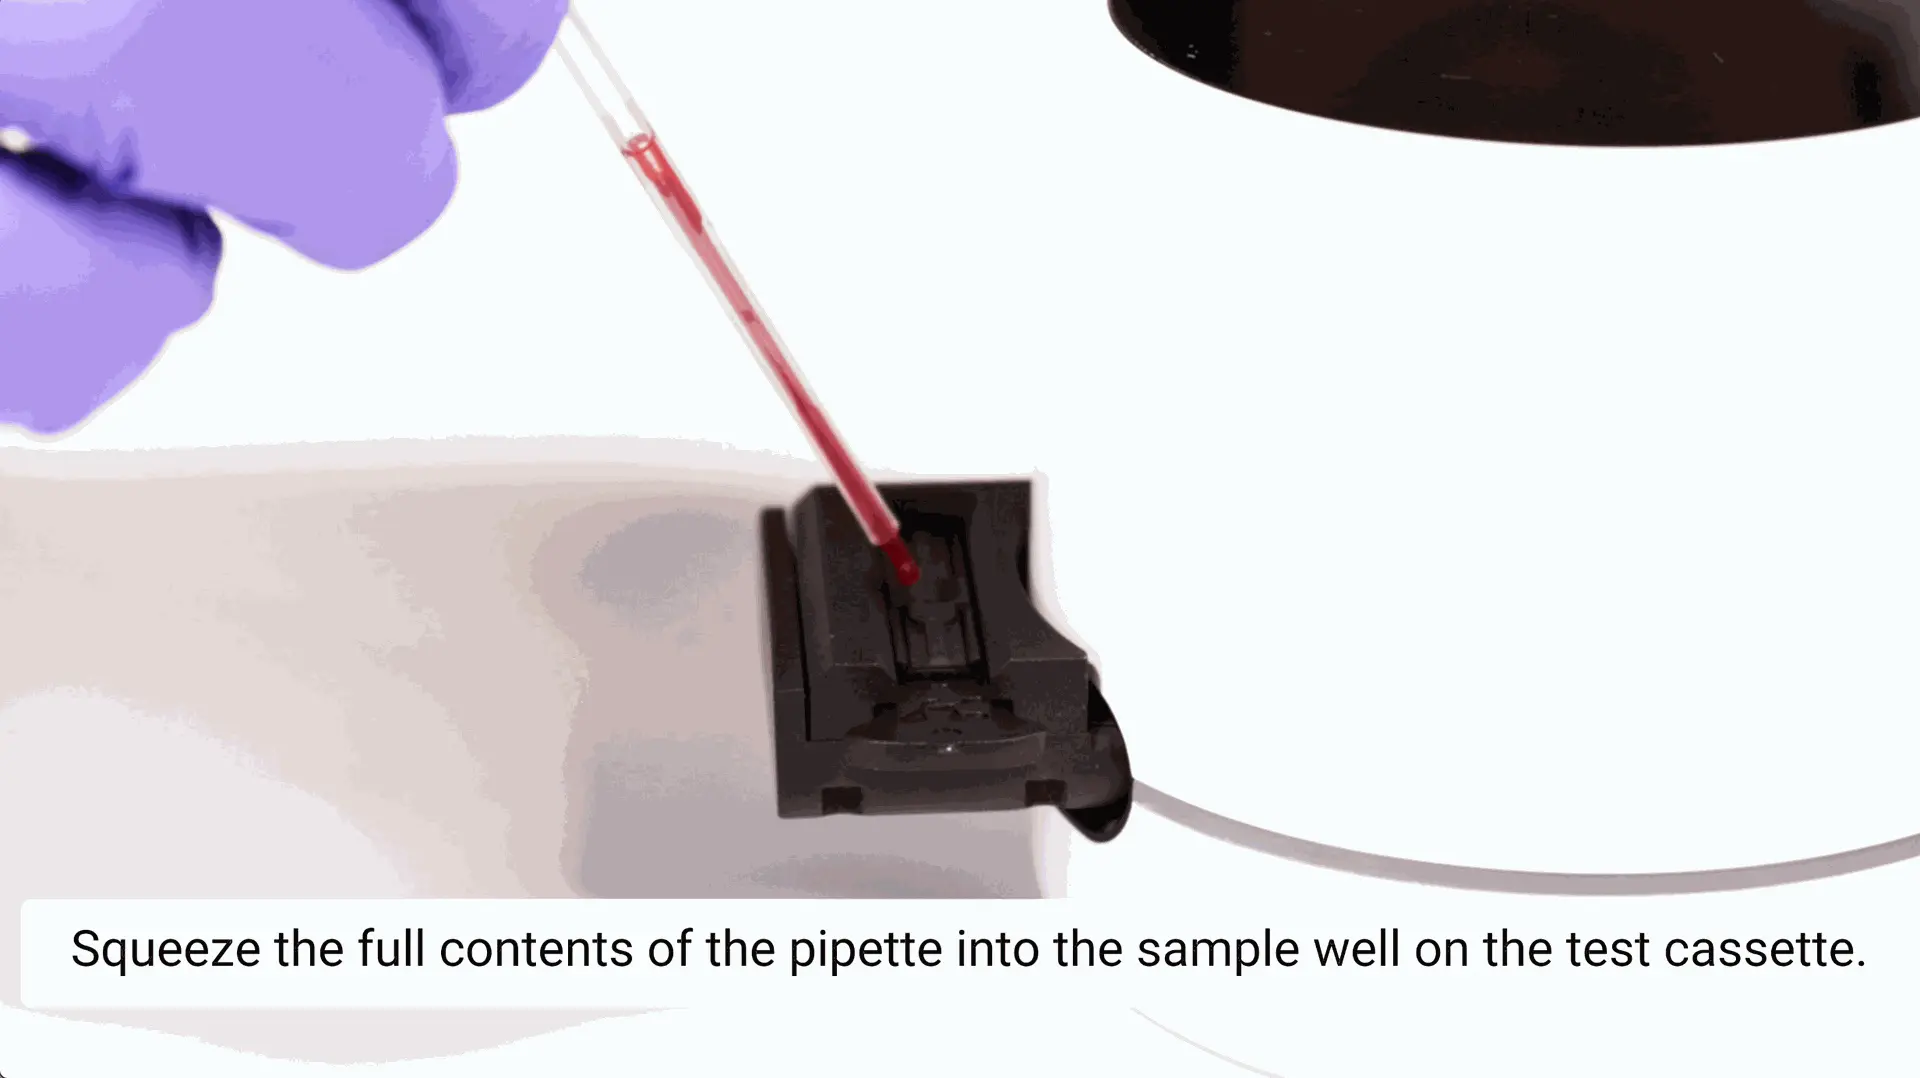
SCHRITT 12: Drücken Sie den gesamten Inhalt der Pipette in die Probenvertiefung auf der Testkassette
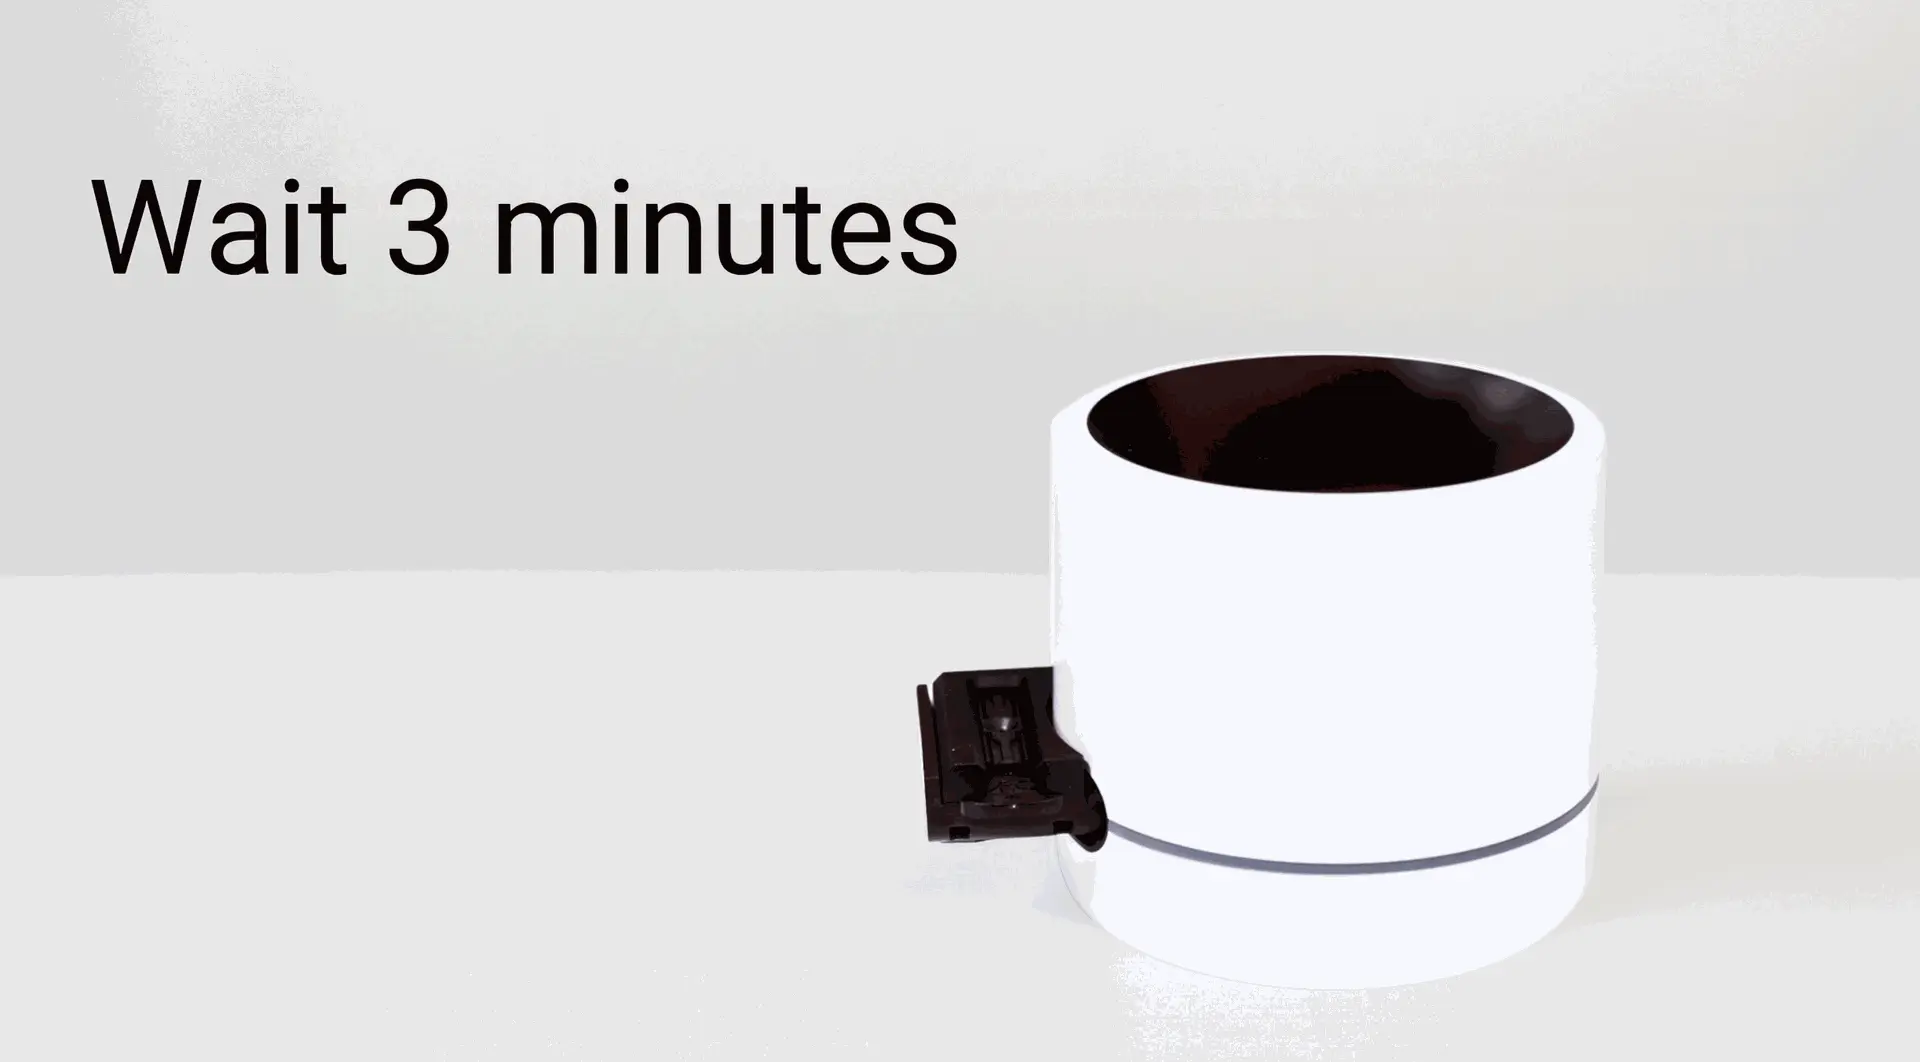
Warten Sie 3 Minuten
Wenn der Timer abläuft, wird Ihr Ergebnis auf dem Bildschirm angezeigt.
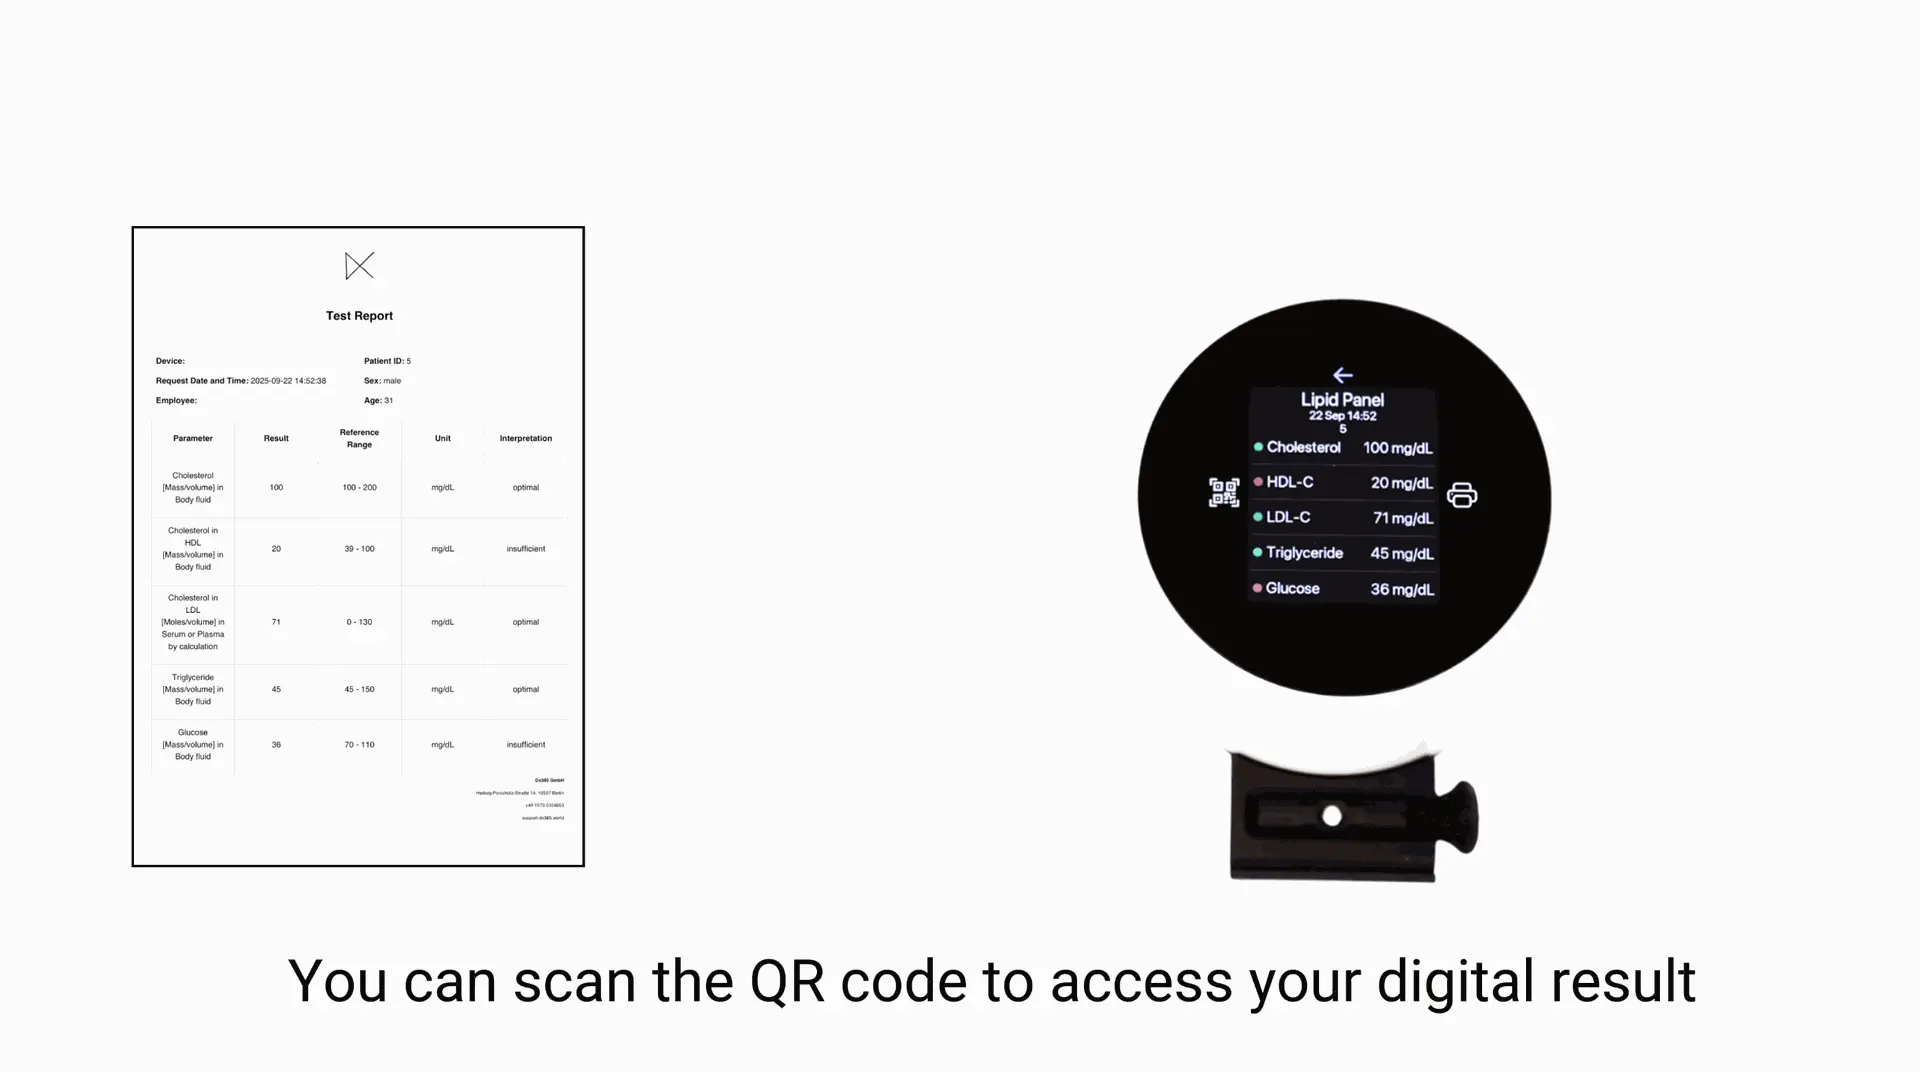
Scannen Sie den QR-Code für Ergebnisse auf Ihrem Telefon im PDF-Format
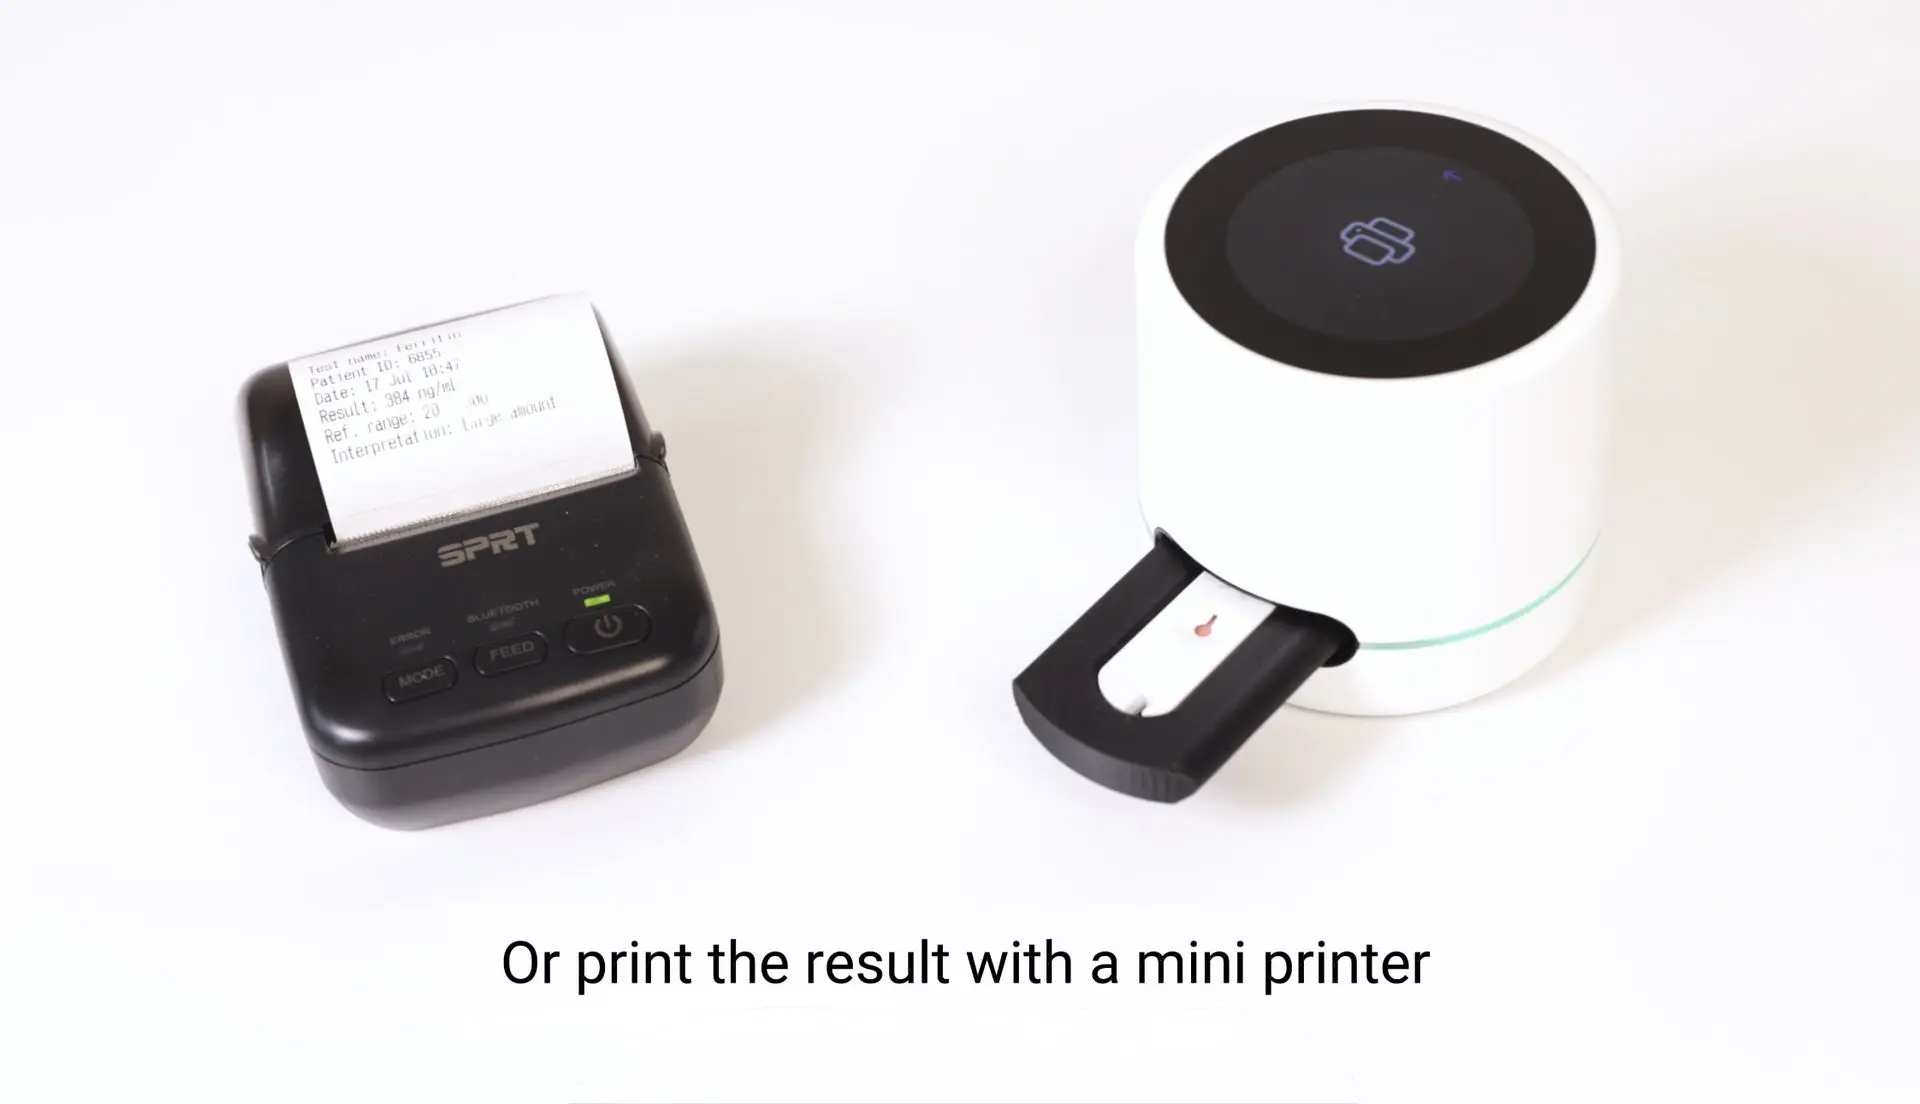
Oder drucken Sie das Ergebnis mit einem Mini-Drucker aus
Results evaluation
Rapid Lipid panel and blood glucose tests may differ slightly from laboratory results - this is normal and does not mean the device is faulty. Use these ranges to explain results clearly to customers and guide next steps.
Total cholesterol
Result: <5 mmol/L
What it means: Healthy level of total cholestrol.
How to explain/action: Reassure customer; maintain healthy habits, routine monitoring.
Result: >5 mmol/L
What it means: Borderline high or higher than normal total cholesterol level.
How to explain/action: Recommend consulting healthcare provider to discuss potential interventions.
HDL cholesterol
Result: >1.0mmol/L for men or >1.2mmol/L for women
What it means: Healthy level of HDL cholesterol.
How to explain/action: Reassure customer; maintain healthy habits, routine monitoring.
Result: <1.0mmol/L for men or <1.2mmol/L for women
What it means: Borderline low or lower than normal level of HDL cholesterol.
How to explain/action: Recommend consulting healthcare provider to discuss potential interventions.
Triglycerides
Result: <1.7 mmol/L
What it means: Healthy level of triglycerides.
How to explain/action: Reassure customer; maintain healthy habits, routine monitoring.
Result: >1.7 mmol/L
What it means: Borderline high or higher than normal triglycerides level.
How to explain/action: Recommend consulting healthcare provider to discuss potential interventions.
Blood glucose
Result: <4 mmol/L
What it means: Low blood glucose level (hypoglycemia).
How to explain/action: Hypoglycemia in customers with diabetes needs immediate medical attention. Recommend consulting healthcare provider to discuss potential interventions.
Result: between 4.0 to 5.4 mmol/L
What it means: Healthy blood glucose level.
How to explain/action: Reassure customer; maintain healthy habits, routine monitoring.
Result: >5.4 mmol/L
What it means: High blood glucose level (hyperglycemia).
How to explain/action: Hyperglycemia may indicate diabetes, and people with diabetes can experience hyperglycemia episodes frequently. Recommend consulting healthcare provider to discuss potential interventions.
Blood Glucose & HbA1c: Results look different
Blood glucose and HbA1c measure different aspects of glycaemia:
- Blood glucose reflects the glucose level at a specific moment
- HbA1c reflects the average glucose exposure over the previous ~8-12 weeks
Because they measure different timeframes and are influenced by different biological factors, results may sometimes not match. This is common and does not automatically indicate an error or disease change.
Scenario 1: High blood glucose but low HbA1c
Possible explanation:This pattern may occur when recent glucose levels have increased but the longer-term average is still lower, or when HbA1c is affected by factors that reduce its value.
Examples include:
- recent change in diet, illness, stress, or medication
- short-term hyperglycaemia not yet reflected in HbA1c
- conditions shortening red blood cell lifespan (e.g. some anaemias)
- chronic kidney disease or certain medications affecting HbA1c reliability
What pharmacists can advise customers:
- repeat glucose monitoring as recommended
- review recent lifestyle or medication changes
- discuss results with their general practicioner or diabetes team
- consider follow-up testing if mismatch persists
Scenario 2: Low blood glucose but high HbA1c
Possible explanation:This pattern may occur when current glucose is improved but previous levels were higher, or when HbA1c is influenced by factors that increase its value independently of glucose.
Examples include:
- recent improvement in glucose control
- iron deficiency anaemia
- haemoglobin variants (genetic differences in the structure of haemoglobin)
- longer red blood cell lifespan
- biological differences between individuals in haemoglobin glycation
What pharmacists can advise customers:
- continue regular monitoring
- avoid interpreting a single reading alone
- discuss possible causes with their healthcare professional
- follow recommended repeat laboratory testing if advised
Read more about the Lipid panel and blood glucose test and about results evaluation.
Best practices for lipid panel and blood sugar testing
Fasting: For the most accurate triglyceride and blood glucose results, customers should ideally fast for 8-12 hours before testing (water is permitted). Total cholesterol and HDL cholesterol are less affected by food intake but fasting is still recommended for a full panel.
Timing: Morning testing is generally preferred due to the fasting required.
Medications: Lipid-lowering therapies (such as statins or fibrates) and antidiabetic medications will affect results. This context should always be noted when interpreting values.
Lifestyle context: Recent changes in diet, physical activity, alcohol intake, illness, or acute stress can temporarily influence lipid and glucose values.
Repeat testing: A single lipid panel result is informative, but trends over time are more clinically meaningful.
Customers with borderline values benefit from repeat testing and regular monitoring.
Disposal instructions
- Entsorgen Sie verwendete Kassetten, Pipetten und Lanzetten als potentiell infektiösen Abfall.
- Verwenden Sie keine Testkomponenten erneut.
- Lesegerät und Adapter sind wiederverwendbar; reinigen Sie sie gemäß dem offiziellen Wartungshandbuch.
Literature
- National Heart, Lung, and Blood Institute, Blood Cholesterol, What is Blood Cholesterol?
- National Library of Medicine, HDL: The "Good" Cholesterol, also called: High-density lipoprotein
- NHS, Cholesterol levels
- National Heart, Lung, and Blood Institute, High Blood Triglycerides
- Mayo clinic, Triglycerides: Why do they matter?
- National Library of Medicine, Blood Glucose, also called: Blood sugar
- British Heart Foundation, Blood sugar levels: what is normal?
- Mayo clinic, Hypoglycemia
- Cleavland clinic, Hyperglycemia: high blood sugar
- NIH, National Library of Medicine - Hemoglobin A1C.
Disclaimer
This information is educational and does not qualify for a medical advice. Always use local reference ranges and consult a healthcare professional for diagnosis and treatment.